
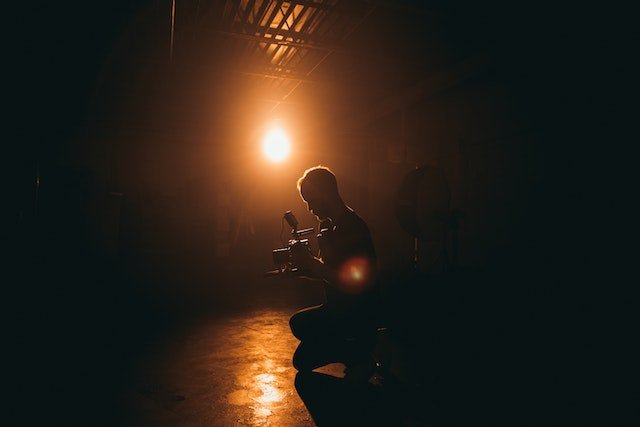
Lighting is one of the most important aspects of photography and videography. The way you light a scene can make all the difference between an amateur-looking shot and a professional-looking one. The 3 point light setup is a popular lighting technique used in both photography and videography. In this blog post, we will discuss how to set up a 3 point light.
What is the 3 Point Light Setup?
The 3 point light setup is a technique that uses three light sources to illuminate a subject in a way that creates depth, dimension, and texture. The three lights are placed in specific positions around the subject: a key light, a fill light, and a backlight.
The key light is the primary light source and is typically placed to the side of the subject, at a 45-degree angle. This light creates shadows and highlights, and is often used to establish the mood of the scene.
The fill light is placed on the opposite side of the key light and is used to fill in the shadows created by the key light. It is usually positioned at a lower intensity than the key light, so as not to overpower it.
Finally, the backlight is placed behind the subject and is used to create separation between the subject and the background. It is often positioned above and behind the subject, shining down on their hair or shoulders.
Setting Up the 3 Point Light
Step 1: Position the Key Light
Start by positioning the key light. This is the most important light in the setup, as it will create the majority of the shadows and highlights on the subject. Place the key light to the side of the subject, at a 45-degree angle, and at a height that is slightly above the subject's eye level. This will create a natural-looking shadow under the subject's nose and chin.
Step 2: Add the Fill Light
Next, add the fill light on the opposite side of the key light. This light should be positioned at a lower intensity than the key light, so as not to overpower it. It is often placed slightly lower than the key light, but still at a 45-degree angle to the subject.
Step 3: Add the Backlight
Finally, add the backlight behind the subject, shining down on their hair or shoulders. This light should be positioned above and behind the subject, at a height that is slightly higher than the subject's head. This will create separation between the subject and the background, making them stand out more.
Tips for a Successful 3 Point Light Setup
- Use diffusers and reflectors to soften the light and create a more natural-looking effect.
- Experiment with different angles and intensities to create different moods and effects.
- Be mindful of the subject's skin tone and adjust the light accordingly to avoid overexposure or underexposure.
- Use gels or color filters to add warmth or coolness to the light, depending on the desired effect.
- Practice and experiment with different setups to find what works best for your particular subject and scene.
Conclusion
The 3 point light setup is a powerful technique that can elevate your photography and videography to the next level. By using three different light sources to illuminate a subject, you can create depth, dimension, and texture that will make your images and videos look more professional and polished. By following the steps outlined in this blog post and experimenting with different setups, you can master the art of 3 point lighting and take your work to the next level.